Smokers are subjected to high temperatures for long periods, which over time, can cause the interior paint to crack and peel. So to maintain your smoker you might be wondering: can you paint the inside?
No, it’s usually not safe to paint the inside of a smoker yourself. Most paints contain harmful chemicals that when heated impart toxins to the food being cooked inside the smoker.
In this article, I will cover exactly why it’s not a good idea to paint the inside of a smoker and what alternative options you have to maintain it.
In this post we'll cover:
Can you paint the inside of a smoker?
While you might think it’s a good idea to paint the inside of a smoker, you shouldn’t ever do this.
This comes down to the fact that there are many dangers involved with doing so.
You and your family’s safety should be your number one priority when it comes to using a smoker.
Using traditional, liquid-based paint to coat the inside of your smoker isn’t a good idea as it will eventually chip and imbue whatever you’re smoking with toxic chemicals.
This will make the food unsafe for consumption, and will therefore render all of your smoking efforts pointless.
As a result, you should avoid painting the interior of your smoker at all costs.
How do you maintain a smoker?
There are a variety of ways that you can maintain your smoker that doesn’t involve painting the interior!
Routine cleaning (after each smoking session)
It is a good idea to clean your smoker in between every smoking session. Here’s how to do that:
Step 1 – Remove the ashes
The first step in maintaining your smoker is to remove the ashes from the smoker after each and every use.
To ensure your safety, make sure that you wait until the ashes have fully cooled before you attempt to sweep them out of the smoker.
You will need to dispose of them in a tight metal container.
Step 2 – Wipe the surface of the smoker
Once you’ve removed the ashes, wipe the entire surface with a warm, damp cloth to get rid of any remnants of leftover sauces or marinades.
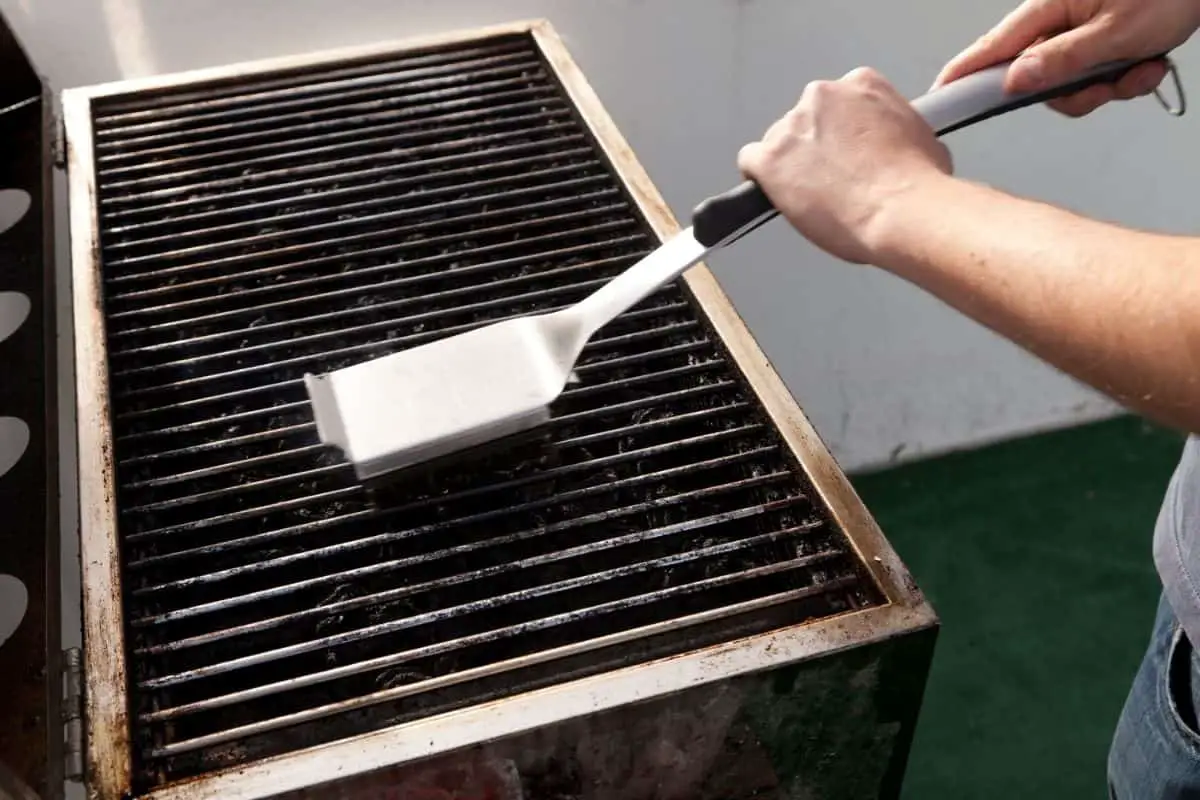
Step 3 – Brush the grates
Next, brush the grates clean using a special grill brush.
This will help prevent any buildup of residue on the grates.
Step 4 – Clean the cooking chamber
Once you’ve cleaned the grates, you’ll want to clean the cooking chamber.
Make sure that you scrape out any bits of old food or debris with a knife.
Step 5 – Buff with steel wool
If there are any parts of the smoker that appear to be rusting, buff them away with steel wool.
Step 6 – Reseason any rusting parts
Last, but by no means least, you will need to reseason the smoker with a high-temperature cooking oil or beef tallow.
Deep cleaning your smoker (every now and then)
While it’s not necessary to deep clean your smoker after every single use, it’s still important to do this every once in a while.
This is especially true if your smoker hasn’t been used in a while.
Step 1 – Clean burn (optional)
This step is optional and isn’t always necessary, so if you don’t want to do it, ignore this first step and move on to the next one.
The purpose of a clean burn is to remove some of the residue left inside the smoker. It is also a very effective way to remove the creosote buildup in the smoker.
To do this, fill up the coal basket, light the fuel, and allow the smoker to heat up with the vents open.
Make sure that you are there for this process and that you don’t leave the smoker unattended.
You will also need to ensure that it is away from any combustible items during the clean burn process.
Always allow the smoker to cool completely before you move on to the next step.
Step 2 – Wash the smoker
Now it’s time to wash the smoker with a degreaser detergent and warm water.
You will need to ensure that you thoroughly rinse the smoker so that there are no suds left in the interior, and allow it to air dry.
Step 3 – Treat any rust
Next, you will need to treat any rust. This is when a wire brush comes in handy to help you to remove any deep rust.
For the exterior of the smoker that appears to be rusting, repeat this process and spray paint over the area.
However, you will need to ensure that this is only on the exterior and that you use a high-temperature paint that is able to withstand the high heat of the smoker.
Step 4 – Check your thermometer
Next, you will need to ensure that your thermometer is calibrated.
To do this, you can place the stem of the thermometer into boiling water and see if it reads the correct boiling point (212°F).
If not, you will need to turn the nut at the back of the thermometer until it is reading the correct temperature.
Step 5 – Re-season the smoker
Last, but by no means least, you will need to re-season the smoker.
Ensure that you have wiped down all of the surfaces of the smoker with lard, beef tallow, or a high-temperature cooking oil.
Finally, you will need to run the smoker at 350°F for a few hours and it will be ready for your next smoking session!
Why is it important to maintain your smoker?
Like any piece of equipment, it’s essential to maintain your smoker to ensure it runs as smoothly as you’d like it to.
You could have the best smoker in the world, and problems would begin to arise if you didn’t take the time to maintain it!
In addition to this, if you don’t maintain your BBQ smoker, it can be very unhygienic.
Leftover food and sauces can cover the surface of your smoker, and over time, this can go moldy.
Ensuring that your smoker is clean and clear for your next use is essential.
After all, no one wants to put raw meat on a dirty smoker and eat it afterward!
If you do leave leftovers to go hard and stick to your grill, it is likely that you will end up with a much more challenging cleaning process further down the road.
Cleaning your smoker after every use is essential to staying on top of the maintenance, ensuring that your smoker lasts for years to come.
In summary
It’s not recommended to paint the inside of your smoker because it will eventually chip and affect your food with toxic chemicals.
Hopefully, this article has given you a better understanding of maintaining your smoker.
