How to smoke meat at home?
This question has been asked by thousands of people who want to sample their favorite smoked meats without having to go to restaurants or spend too much time cooking.
Smoking meat is a great way to add flavor to food, especially if you don’t have access to good quality cuts of meat.
The problem is that smoking meat requires a lot of effort and expertise.
If you don’t know how to smoke meat, then you might consider buying pre-smoked meat instead.
Smoking meat at home is easier than you think. All you need is a smoker, some wood chips, and a bit of patience.
In the article below, you will find a beginner’s guide on how to smoke meat at home.
In this post we'll cover:
How To Choose A Smoker
To begin smoking your own meat at home, you will need to make sure that you have the right equipment, as this can make the difference between good and bad meat.
So if you are purchasing a smoker for the first time, here’s everything you need to know before completing your transaction.
Choose A Smoker
Nowadays, there are hundreds of smokers available, with some producing better results than others.
When it comes to choosing your new smoker, we would recommend purchasing a product that runs on pellets, as these often produce the best meat.
This is because pellet smokers use wood pellets to cook the meat, which helps to infuse it with a rich and aromatic flavor.
However, the final choice is yours to make.
In most cases, you will want to purchase a smoker that is accessible and easy to use, as some smokers can be quite complicated and deter you in your mission.
Choose The Pellets
Once you have chosen your smoker, you will need to purchase the pellets, which come in a range of different wood types.
When it comes to choosing pellets, it is advisable to consider the kind of meat you intend to cook, as certain meats pair well with different woods.
For example, it is traditional to use applewood when cooking pork, while cherrywood is commonly used when smoking chicken and other poultry.
However, if you intend to cook beef, then you may need to purchase a flavorsome wood such as mesquite, which is known for its intense taste.
Test The Smoker
Before you can start using your new smoker, you will need to test it, which can be done by building a fire.
For the best results, you will want the smoker to reach a temperature of 400 degrees Fahrenheit before reducing it to 250 degrees.
Once the smoker has reached this temperature, it will need to rest for 3 – 5 hours until it smokes.
By running this test, you will be able to determine the smoking time on the meat, as well as the accuracy of the smoker’s thermometer.
How To Smoke Meat At Home
Once you have set up your new smoker, you will need to prepare and smoke the meat, which is a lot easier than it sounds.
In the following instructions, you will find everything you need to treat the meat and prepare it for the smoker.
Flavor The Meat
To start smoking your meat, you will need to prepare it using a marinade or rub.
This is when you season the outside of the meat, which will need to be completed 24 hours before the smoking process.
When the meat has been fully seasoned, it will need to be refrigerated until it is ready to be smoked.
To avoid any complications, we recommend clearing a space in the refrigerator, where the meat can rest for the appropriate amount of time.
Fire Up The Smoker
As we previously mentioned, you will want your smoker to reach a temperature of 400 degrees before reducing it to 250, as this helps to retain the flavor of the meat and produce a delicious result.
When the heat has been reduced, you can add the meat to the grill to a temperature between 200 – 275 degrees.
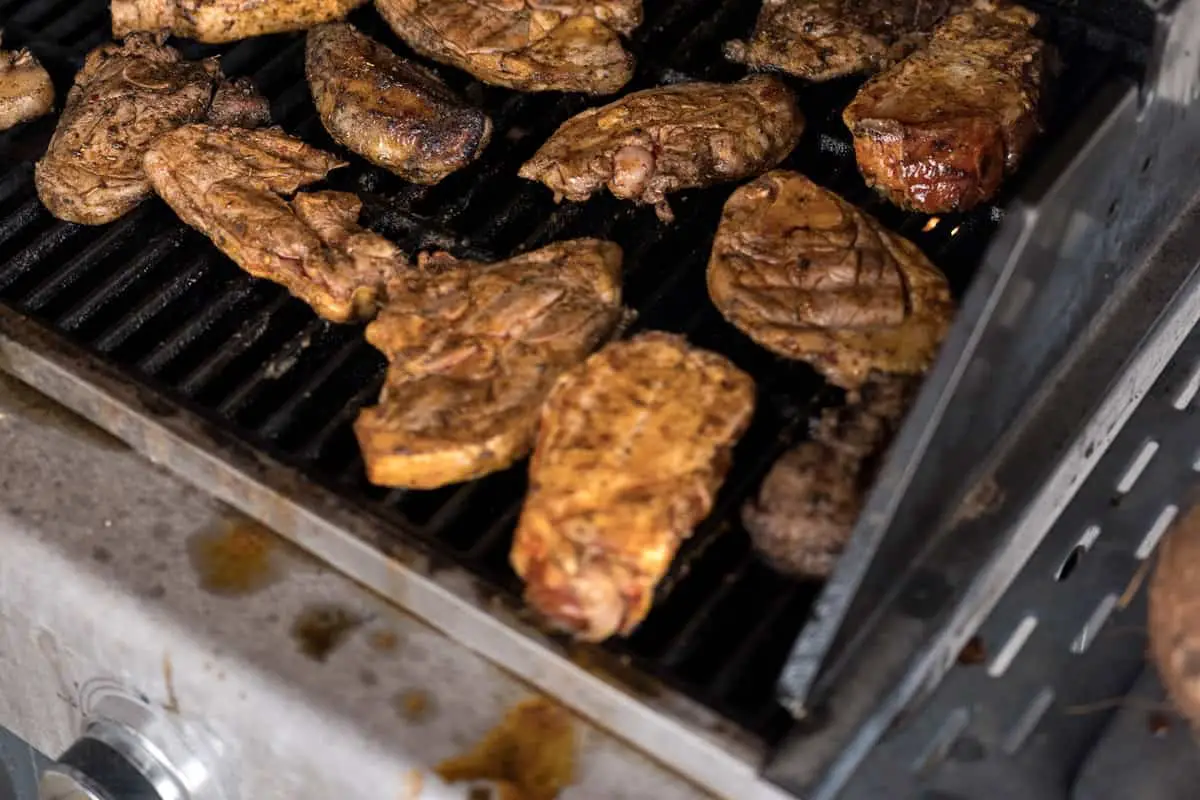
Grill The Meat
Once the smoker is ready, you can start adding the meat to the grill.
During this process, the meat should be placed directly on the cooking grates, as this helps to ensure that the meat has been cooked.
If you have seasoned your meat with a marinade, then you will need to wipe away any excess sauce before placing it on the grill.
This is to stop any drops from landing on the flames, which could result in flare-ups.
Smoke The Meat
When the meat has been added to the grill, you can close the smoker and let it get on with its job.
During this process, you may be tempted to open the smoker and check the meat, which should be avoided as much as possible.
When you open the smoker too much, you release the heat inside, which could lengthen the cooking time and impact the final flavor of the meat.
However, this does not mean that you should leave the meat without supervision, as the smoker may need more pellets during the smoking process.
In most cases, it is advisable to smoke a pound of meat for one and a half hours, which should allow plenty of time to deliver a delicious meal.
However, if the smoker is running too high, then it may be able to cook the meat in one hour.
Rotate The Meat
An important part of the smoking process is rotating the meat, which should be done after 2 – 3 hours.
When the meat has been rotated, you will also have the opportunity to give it a douse with a proper mop.
Let the meat smoke for another hour, and it should be ready to eat. If you wait any longer you could risk overcooking the meat.
Of course, if the meat needs more time, then you can put it back on the grill and wait until it is done.
Remove The Meat
You will know when the meat is ready when it has reached an internal temperature of 180 degrees.
When it has reached this temperature, you can remove it from the smoker and allow it to rest.
During this step, the meat will need to be wrapped in aluminum foil and allowed to rest for around 1 – 2 hours.
This step is often considered one of the most important in the smoking process, as it ensures that the meat is cooked and bursting with flavor.
Another way to tell if the meat is done is by checking for a pink ring underneath the skin, which is a sign of nitric acid and perfectly smoked meat.
Final Thoughts
Smoking meat at home is a lot easier than it sounds. All you need is the right equipment and attitude.
While the smoking process can take a long time, we promise that the final result is worth the wait, especially when the meat has been cooked to perfection and is bursting with a unique and aromatic taste.
