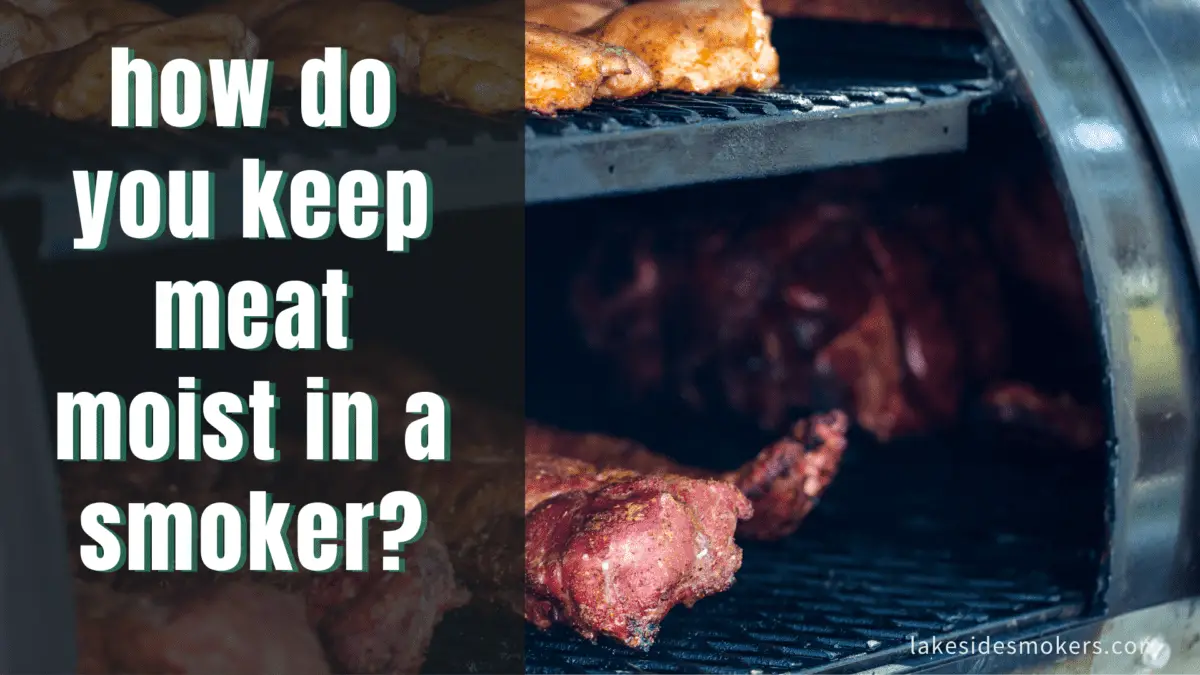
For one thing that everyone knows, smoking meat can be a tricky process and not easy to get right.
Keeping the meat moist is one of those challenges. No one buys the best cut of meat and smokes it for hours to bite on a piece of plain cardboard in the end.
Guess what, it’s heartbreaking…and expensive.
And that’s why I’ve come up with the top 10 best tips you can use to keep the meat moist throughout smoking and make your next dish sure to be worth your time and effort.
So let’s jump in without any ado!
In this post we'll cover:
10 tips for keeping the meat moist in the smoker
Smoking meat is a science of its own. It’s like a chain reaction where each step is dependent on the other to make a perfect final product.
You just can’t get anything wrong. I’ve written about classic mistakes smokers make before, and yes, it is certainly possible to over smoke meat.
So, how to get it right? An important factor of smoking is keeping your meat moist throughout the process.
Here are 10 ninja techniques you can try out for delicious meat with all its juiciness intact:
Always choose the perfect cut
Guess what? Greatness comes out of tiny little things. It’s these tiny little things that decide the fate of the overall final outcome.
In smoking, choosing the perfect cut is one of them.
So if I tell you to be a bit more choosy while picking your perfect cut, take that seriously.
Actually, for a delicate process like smoking, it’s crucial to pick quality meat with the perfect meat/fat ratio.
What is the perfect meat/fat combination? Probably not the one with a giant fat cap hanging off the meat or those having the biggest price tag.
Instead, you want to go with a cut with more intramuscular fat and collagen, something that looks a bit leaner from the outside.
This will ensure that the meat remains moist even in those long smoking recipes.
Remember, it’s easy to get tempted by the already soft texture of those expensive pieces, and why not, they’re worth it.
But you can also pick those fatty and tougher cuts and turn them into soft, tender, melt-in-your-mouth smoked meat.
In fact, that’s the whole essence of smoking. It doesn’t have to be expensive every time.
Did you know that smoking traditionally was more about food preservation than taste?
Salt it first
Before sliding it into the smoker, a nice, dry rub of kosher salt is just what meat needs. Dry brine enhances the meat’s flavor while also increasing its internal moisture content.
You might ask, how? Well, here’s a 10-grade nerdy fact: salt denatures protein.
This denaturing results in the breakage of peptide bonds among amino blocks of proteins, triggering the release of water molecules.
This water makes the meat even juicier and helps it retain moisture even after hours of slow smoking.
The final result? A deliciously soft piece of meat with a mouthwatering smoke flavor.
Wrap the meat
One of the most used ninja techniques of pitmasters for retaining moisture in the meat is wrapping it in a thin layer of aluminum foil.
It helps retain moisture and keeps the internal temperature of the meat consistent throughout the smoking process.
In other words, it lets the meat soak in its juices, adding more flavor while keeping it soft and nice.
You can also use butcher paper for this purpose. The main difference between aluminum foil and butcher paper is their porosity.
The latter mainly concentrates on keeping the meat moist while smoking and ensures that maximum smoky flavor is transferred to the meat through all those pores.
Whichever option you go with, make sure not to wrap the meat directly.
Let it smoke for at least half of the total duration, and then wrap it up to prevent excess moisture escape.
For more details, check out my guide on exactly how and when to wrap brisket when smoking
Less charcoal, more wood
Before filling your smoker with tons of coal, remember that you are here only to smoke meat, not run the polar express.
Thus, filling the smoker with just enough coal is essential to keep the internal temperature consistent.
Extra coal can create extremely high temps, which can not only dry out but ruin the whole taste of smoked meat.
Therefore, for a low and slow process like smoking, use an optimum amount of coal, and then place whichever smoking wood you like on it to fill up the smoker with delicious flavors.
Personally, I love to use woods like oak, mesquite, and hickory to smoke meat for some extra smokiness. However, fruity flavors like peach and apple also work great.
A rule of thumb is to follow the saying “less is more.” The only thing you wouldn’t want while smoking meat is losing control over the internal temperature.
And in case you are wondering, yes you can place the wood chips directly on the charcoal.
You may already know if you even have a little experience of smoking meat that every cut has to pass through its ideal smoking duration before you serve it.
The duration for lean meat cuts like pork chops, flat briskets, or chicken breast does not work for fattier cuts.
And God forbid what happens if you smoke lean cuts at the same duration as fatty cuts. It’s a sin!
Anyways, the following are the ideal timings for different cuts:
- Depending on the size, large meat cuts like brisket will take about 6 to 14 hours.
- Lean cuts like pork chops or chicken breast take two hours to smoke perfectly.
- Regular-sized meats take about 4 to 6 hours to smoke.
To conclude, every smoked meat recipe has its perfect timing and a separate cooking process. Make sure you keep that in check as you put it inside the smoker.
For information, check out our 10 exciting BBQ smoker recipes that include everything, from ribs to veggies and everything in between.
Control the temperature
Don’t control the temperature, and you’re going to mess up the meat big time.
Just the way different meats require different methods of preparation and smoking duration, so do they need different ideal cooking temperatures.
Too much heat will overcook and dry out the meat, while too little heat will lead to poorly cooked (and even dangerous) meat and extended smoking duration, leading again, to dry meat.
It’s like a dry triangle… if that even makes sense.
Anyways, you can tackle this problem by managing the air vents of the smoker.
They are situated at the bottom and top of the smoker. Simply open them up if the temps are high and close them when low.
Using a separate high-quality thermometer will help a lot in navigating temperature. You could also use the mounted ones, but they aren’t always accurate.
Trust me; you don’t even want a degree of inaccuracy here.
Control the smoke
Don’t get me wrong; the smoke flavor is excellent. But as you may have heard, anything in excess is poison.
The same holds here. Even with the utmost care, too much smoke can ruin even the most perfect meats.
So whenever you notice too much smoke coming out of the chimneys, turn down the heat immediately.
Similarly, you also don’t want too little smoke because then, there will be no flavor at all.
So, if you see too little smoke coming out of the chimney, simply replace the wood with some fresh chunks.
Don’t open the lids frequently
While opening the lid wouldn’t cause any harm during grilling, smoking is a totally different story.
You cannot open the lid after every 10 minutes to check the meat.
Why? Because by frequently opening it, you are releasing an excessive amount of heat that in turn prolongs the smoking duration. You know what happens next!
But should you not open the lid at all? Well, not exactly. There are certain situations where you must open it.
For example, first, an hour after you put the meat in the smoker, and then an hour before the smoking session is just about to finish.
As some recipes for lean meats like pork chops, chicken breasts, or briskets need to be sprayed with apple juice or water to maintain flavor, you will have to open it every two hours.
However, opening the lid at any other instant is strictly prohibited.
Besides keeping the lid shut as much as possible, you can also opt for smoker insulation for even better heat retention
Marinade and spray is a must
Although fatty meats have just enough content to stay juicy throughout the smoking duration, leaner meats are more prone to drying out.
Thus, they’ll need a sidekick to remain juicy till the end and retain some exciting flavors.
This sidekick, as mentioned, can be apple juice, water, or apple cider vinegar.
Apart from that, marinating the meat will also infuse some extra taste. But the condition is to let the meat rest in the marinade for at least 24 hours.
Let the meat rest
A big mistake newbies often make is serving smoked meat right out of the smoker. They don’t realize what follows after smoking matters as much, or even more.
Resting the meat for about half an hour ensures that the moisture is redistributed throughout the muscle fibers, making the meat juicier while adding flavor alike.
You can also top the meat with your favorite sauces for added flavor during the resting period.
Conclusion
Now you know everything that is required to smoke your meat to perfection.
I would highly recommend noting down each step and making a checklist as you smoke your next meat cut.
Guess what? It will require a bit of practice. But the results are oh, so, worth it.
